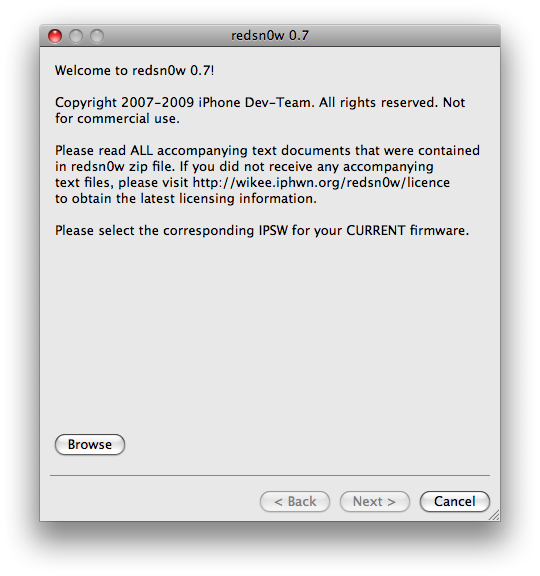
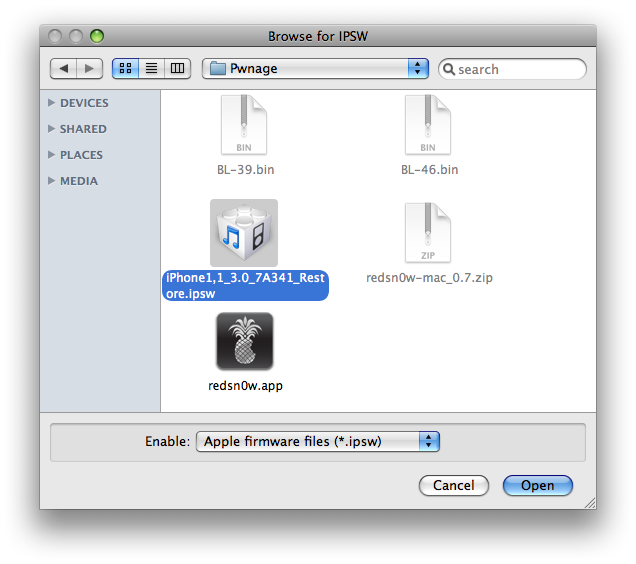
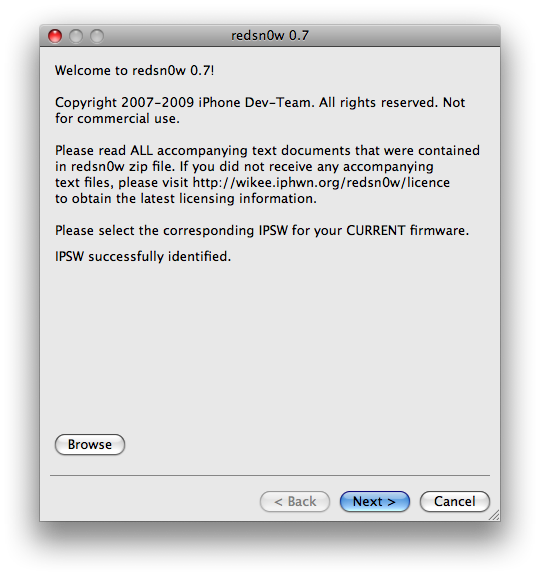
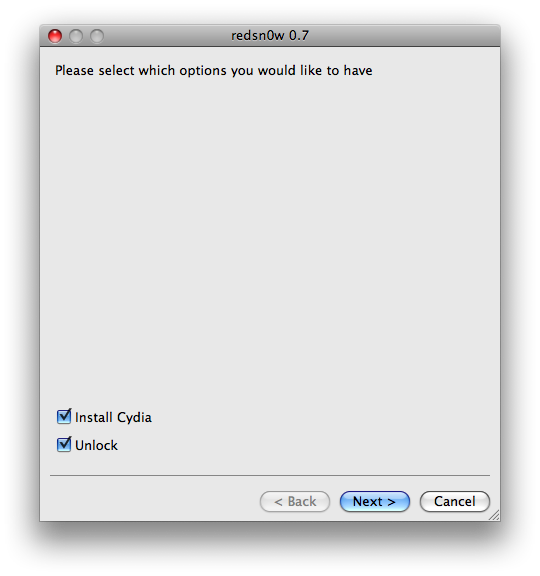
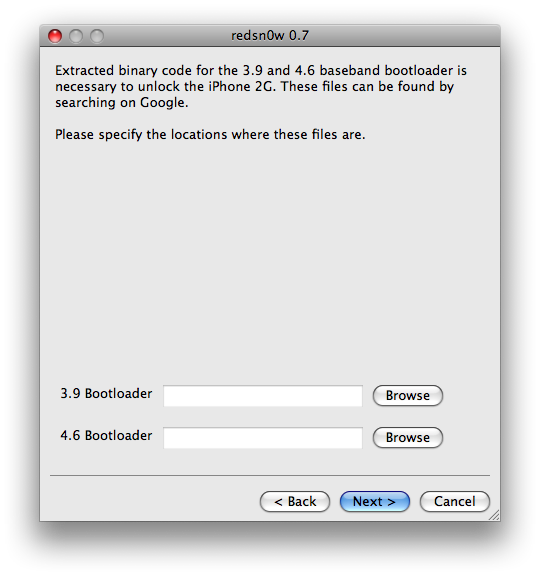
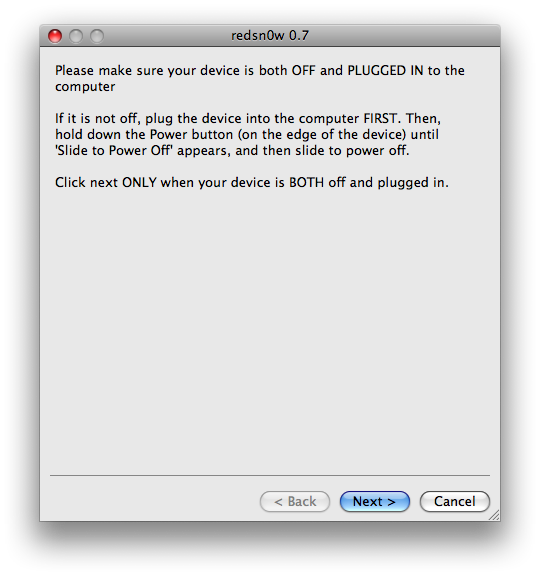
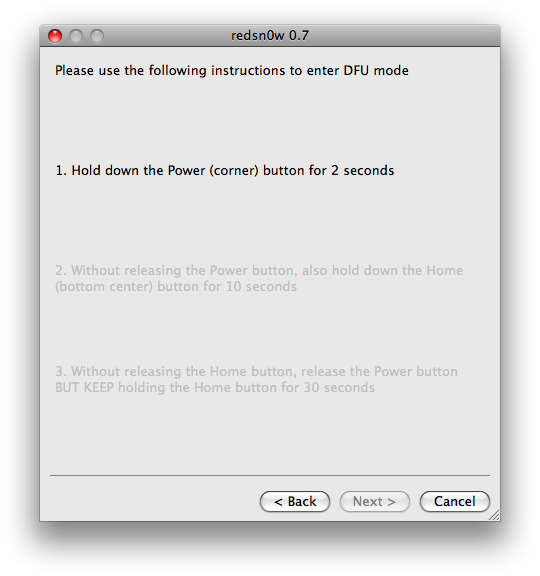
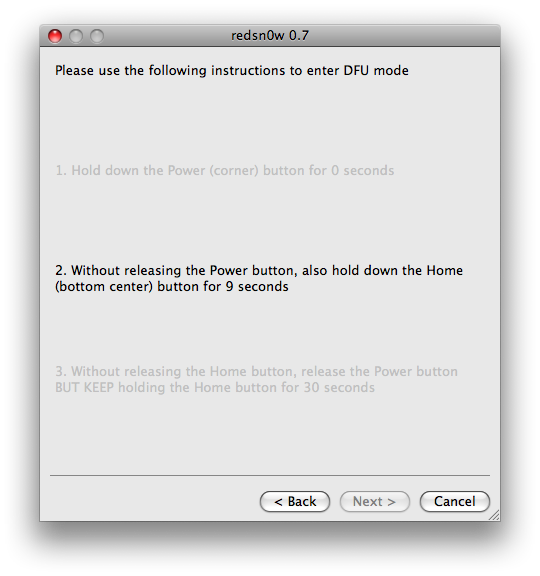
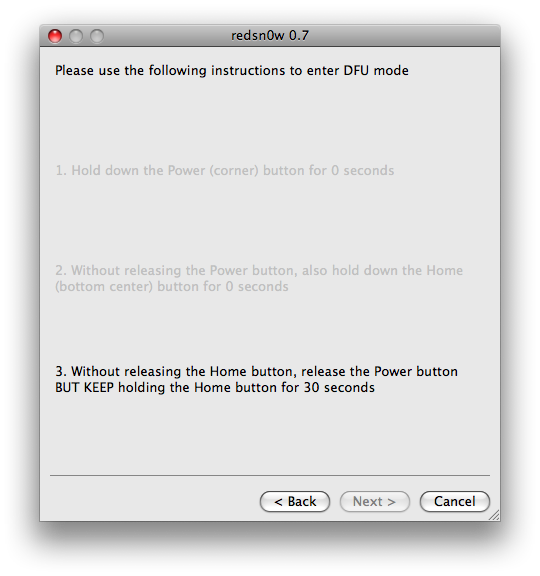
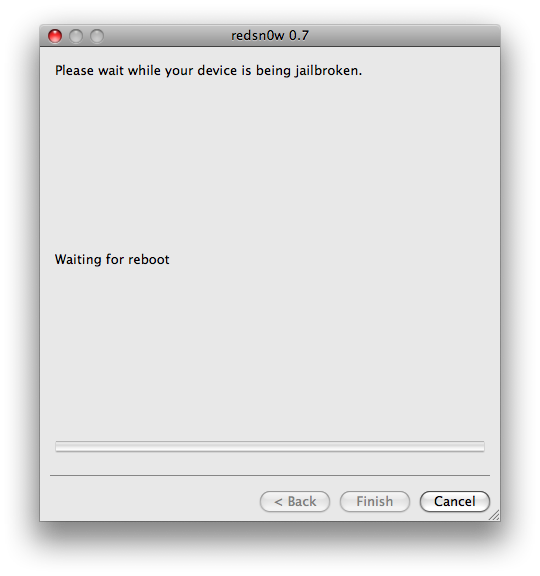
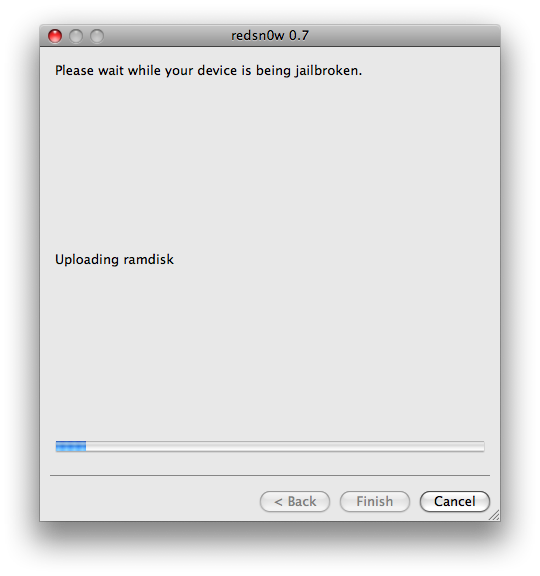
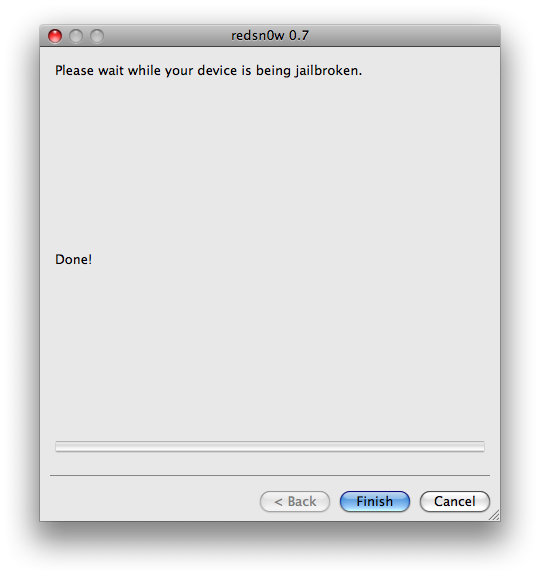
If you want to use internet over your MAC machine and have iPhone enabled with edge then this is what you have to read and follow. This guide will teach you how to tether your iPhone 3G to Firefox on your Mac OS X laptop. Tethering means you can use the 3G data connection of yor iPhone to browse the net on your Mac. This guide also worked on Firefox for PC, tested it last night. Thanks for the post! NOTE: Tethering is against AT&T's data usage policy, and should only be used in emergency situations - you CAN get hit with some big bills if they see an exorbinant amount of data usage from tethering. This is purely a "for fun" guide. Don't be an idiot. :D Props go to NateTrue for his original guide on this subject. Alright, lets get started. First, Jailbreak you 3G, making sure you install Cydia as well. Now, open up Cydia, and go to the Install section, then Networking. You'll see 3proxy. Click install (top right), and you'll see the install window come up. Once you get the Close Window button, go ahead and hit it. Do the same to install MobileTerminal. Alright, now, lets move to the Mac. Go up to your AirPort in the status bar, and hit Create Network... button. We're gonna make an ad-hoc network here. In the window that pops up, name it whatever you'd like. I named it nettwerk. Set up a password if you'd like. Alright, back to your iPhone. In Settings, go to Wi-Fi. You'll see the network you just made there. Go ahead and tap it to join the network. If you set up a password, enter it now to join. Now you'll see the check mark by the network you just joined, showing you're connected. Click the little blue arrow to the right of it so we can get your IP address. Good. Now you see your iPhone's IP address on the network. Write it down. Press Home to get back to your iPhone's homescreen, and then open up MobileTerminal. Type socks and hit return. The cursor will stay under the line, and nothing will happen. That's good. Hit the Home button (briefly, so Terminal will still be running in the background). Launch Safari, and navigate to any page. The 3G should pop on and the site should launch. This here is a good looking site. ;) Ok, back to the Mac. Now open Firefox, and from the File menu hit Preferences. Go to Advanced, then Network, then Settings. The proxies configuration window will open. Where it says SOCKS Host: input the iPhone IP address you wrote down earlier. For Port:, type in 1080. Set it to SOCKS v5, and leave the rest at blank or 0. The No Proxy for: can be set up as whatever is default. Hit OK. As a separate step, in the URL field of Firefox, type about:config and hit Return. Some versions of Firefox may ask you to verify you want to do this. Go for it. Now type socks in the search field, and double-click the network.proxy.socks_remote_dns option to change the Value to true. That's it! You are now using your iPhone's 3G connection to browse. Check it out, browse away. Remember 2 things when you're finished - 1) To go back to the Advanced, then Network, then Settings pane to configure No proxy for regular browsing, and 2) to go back into MobileTerminal, and make sure and HOLD THE HOME BUTTON until MobileTerminal quits (a few seconds) so socks stops running. That's it! Taken from iclarified.com.